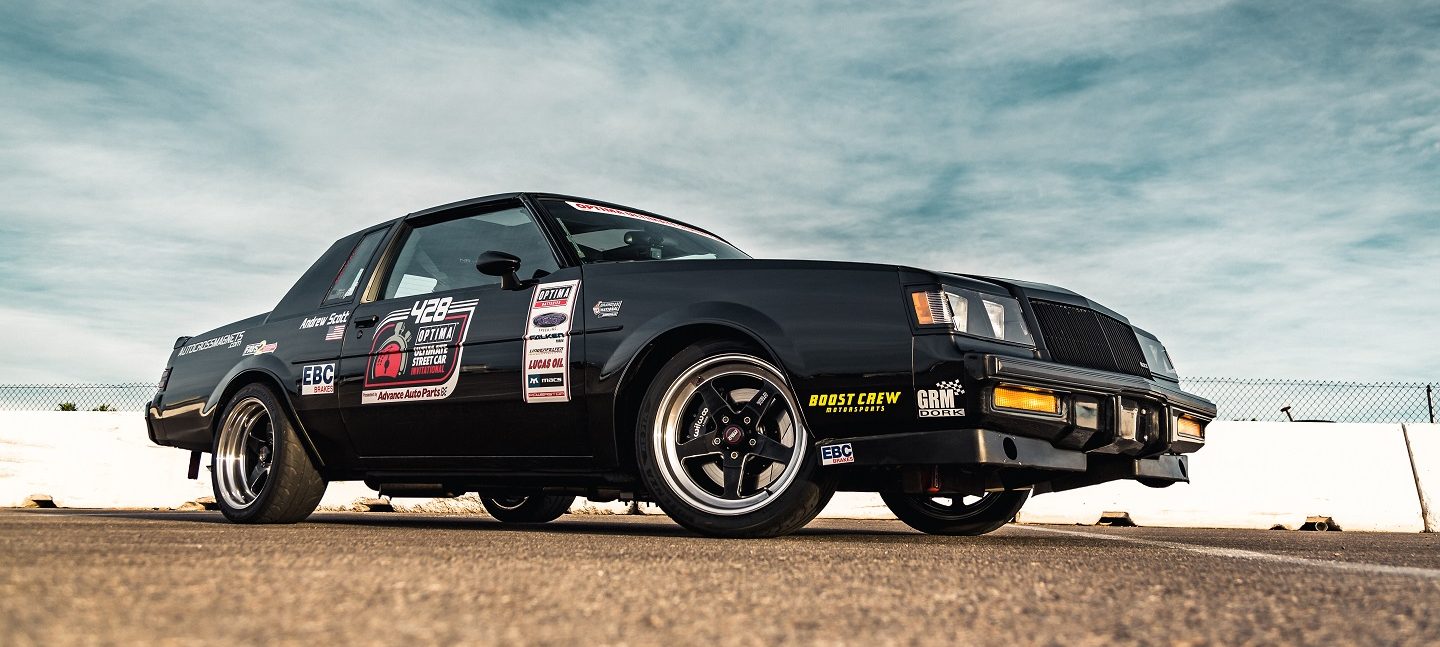
If you follow my blog, you’ll remember my posts back in August (here and here) detailing the failure of my engine at the Optima Search for the Ultimate Street Car event in New Jersey. I started my rebuild story in another post back in October. Many may be wondering what happened? It’s been over a month!
Well, as it turns out, parts for this car are getting hard to get. Added to the availability issues are the nature of the build. High strength, non-standard reciprocating assembly, and custom fitting billet steel main caps resulted in an extended stay at the machine shop.
But the time to move forward has finally arrived! The block and reciprocating assembly came home just after Thanksgiving.
I had intended to make this a single post for the whole build, but it turns out that’s probably not going to work. I’m breaking it up.
In case you were wondering what kind of machine shop work goes into a build like this, here you go:
- Disassemble/vacuum test heads
- Resurface heads .010
- Size piston wrist pins
- Clean connecting rods
- Check/polish crankshaft
- Balance assembly
- install 2 pieces mallory metal
- Degrease and inspect block
- Hone block
- replace freeze plugs
- replace oil galley plugs
- resurface block .005
- Check block height
- Clearance for stroker kit
- File Fit rings
- Main cap fitting
- Block line bore
- Cam bearing install
All of this work took eight weeks to complete at two different machine shops and cost almost two grand. For just labor. Let me say here that this will be my last Buick V6 engine build. If it pops again, I put an over the counter reman long block in it and sell the car.
And while we’re doing bullet point lists, here’s the parts list, at least the fun parts:
- 4340 Forged Steel Crank, 3.625 stroke crank
- Molnar 4340 Forged steel 6.350 H-beam connecting rods
- Carrillo Forged pistons (custom wrist pin height, standard dish)
- PAC valve springs
- Erson roller lifters
- Comp 264HR grind roller camshaft
- Double roller timing chain
- Cometic MLS head gaskets
- All bearings Calico coated

With everything in house, I began putting stuff together. An hour with the valve spring compressor and the heads were assembled. Yes, an hour. I had to take them back apart once I realized I’d misinterpreted my machinist’s cylinder numbering and had put the valves in the wrong holes. Sue me.

Next came attaching the pistons to the connecting rods, which resulted in a pretty fantastic engine-porn shot.

The next part was assembling the short block. A 3.830 inch diameter ring compressor made this much easier than it was the last time I put this engine together. What had been a frustrating few hours with the ratchet type compressor ended up being about half an hour this time around.
I bolted the main caps on and checked the diameters. The clearances are all between .0015 and .0020 inches. Right at the tight end of the acceptable range, which is what I wanted. My intention is to run it tight and use really good oil instead of running it loose and filling it with 50w sludge.

Once the pistons were loaded, I spun the assembly around to make sure everything cleared, especially the #1 rod. It interferes with the main oil feed galley coming from the pickup to the front cover. My machinist clearanced the block and took a bit off the bolt head and it clears. Barely.

This the only clearancing the block needed. Other rods may require more. I picked the Molnars specifically because they clear really well.
I checked the endplay. .005″. Exactly where I wanted it. Tight.

What didn’t clear was the camshaft. There was interference between the rods and the cam lobes. I was able to get it to clear by advancing or retarding the cam six degrees, but I didn’t want to run the car with the cam that far out. So, the cam went back, and I ordered a custom small base circle version of the same profile.
And with that, here stops this installment. Stay tuned! Once the cam shows up, we’ll be installing it, then the lifters and heads, then measuring for custom pushrods!
I’m also hitting up PRI this week, so I’ll likely do an entry on that.