Most that have dealt with C-clip rear ends from GM and Ford know all about the good things. C-clips are easy to work on. It only takes a few minutes to get an axle out of the car. The bearings on the axle ends can be serviced with a slide hammer and rubber mallet, no need for a press or a trip to the machine shop.
What they don’t do well is cooperate with disc brakes, and all of the lateral load imparted on the axles hits the carrier bearings in the differential center section.
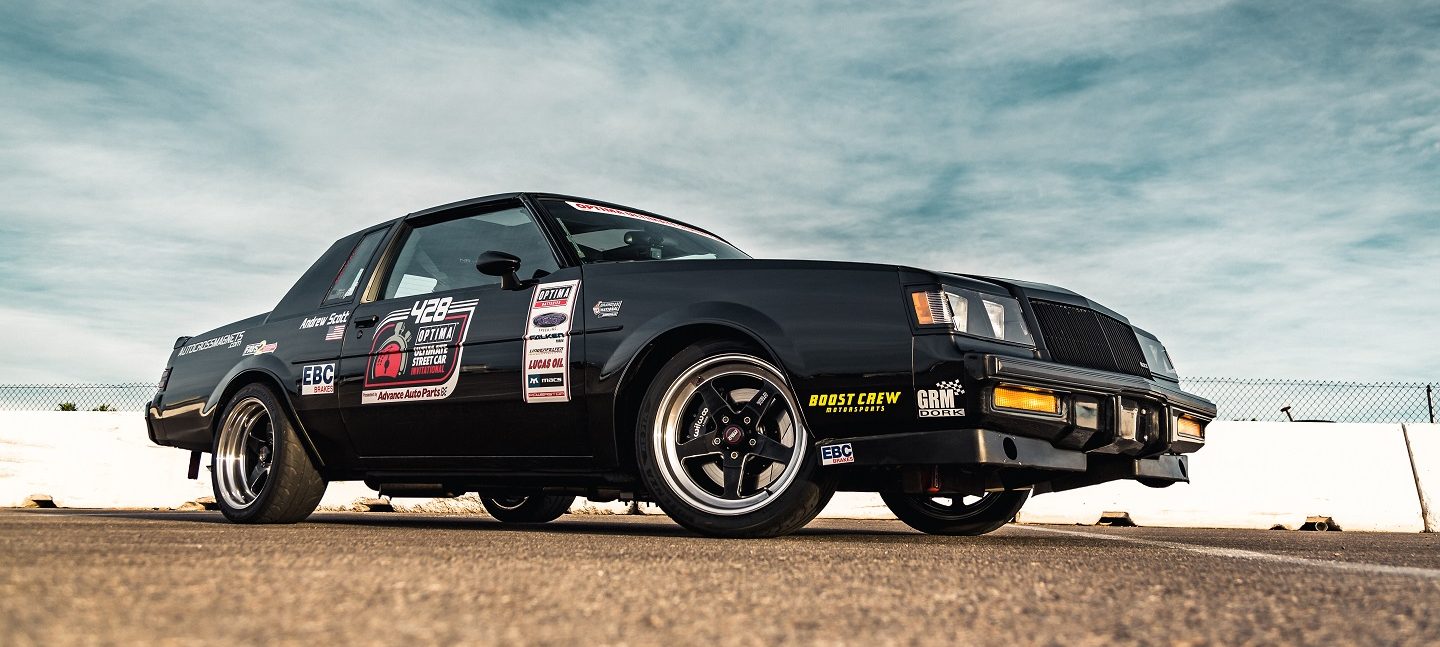
The axles float a tad, which is fine, except when the wheel hub is attached to the axle. Lateral movement allowed by the slop inherent in C-clip retained axles will cause pad knockback, even with a floating caliper. I’ve had trouble with it since I put the disc brakes on the back end of the car.
And lastly, since the axle is retained by the clip inside the center section, if you happen to break an axle, there is nothing holding the outboard section (and your wheel) in the car anymore.
Enter the C-clip eliminator kit. NHRA requires them in many instances as a safety item. They consist of a bearing block and bearing set that are pressed onto the axle, and then the assembly is bolted to the axle flange. Voila. No more C-clip, and the axle is retained at the outboard end, so if it breaks inside the housing the wheel stays on the car.
It also has the potential to reduce brake pad knockback, since all that slop from the c-clip design is eliminated. That’s the part that was attractive to me.
I looked at several C-clip eliminator kits. I first checked Moser, and they had one. But the instructions for the kit specifically stated they were not for street use. The end bearings were of a needle type, and had no ability to manage lateral loads well. These were drag-race only.
Strange had the answer. They offered a kit with both roller bearings for drag racing, and a street/track kit that used a tapered bearing.

The kit includes all the required parts and a single page (back and front) instruction sheet.
I’m not going to go through the install step by step, since that’s what the instructions are for. But I will offer a few tidbits here that weren’t in online writeups and youtube videos.
First of all, you have to drill on the axle housing. I found that the easiest way to get the holes right is to enlarge the lower holes in the flange, then bolt the inner guide plate to the lower holes, which enables you to use the upper holes in the guide as a jig to locate your drill.
A Harbor Freight 12-ton shop press is plenty for pressing the bearing assemblies on. At $99 with a coupon, the press pays for itself in a single use.

And finally, the “button” on the inner end of the axles, where the c-clip normally would slip on, must be removed. I was able to cut it off easily with the axle in a vise and a quality metal cutting blade in my reciprocating saw. The same saw also made quick work of the bearing housing on the end of the differential housing. That cut doesn’t need to be pretty.
If you’ve been careful with your drilling, it will bolt right on.

Now, here’s where my experience may help you:
I have a disc brake conversion. These kits are for cars with drum brakes. The caliper mount plate is much thicker (0.250″) than the standard sheet metal drum backing plate.
No worries! It can work! Before you perform the final assembly, slather some grease on the splines of your axle, and mock the thing up with the caliper plate in the sandwich where the instructions tell you to put the drum backing plate.
Then pull the axle back out. The grease should have been pushed down the splines and tell you just how much engagement you have with the center section. If you have at least 1″ of engagement, you’re good.
If you don’t have 1″, then you’ll need to call up your favorite axle vendor and order longer axles, since by the time you get to this point in the install, you’ve already cut up your housing and there’s really no going back.
Mine worked out just fine.
Also, with the disc brake plate in place, you’ll want to make sure the bolts that bolt the bearing plates to the the housing end are long enough to properly engage.
I’ll report back in the spring with whether these actually work out as expected. If they don’t, I’ll probably have a very broken and/or wrecked car. The big unknown is the strength of the flange on the axle housing. The GM 10 bolt assemblies in the G-bodies have a very flimsy (as compared to a Ford 9″ or a Chevy 12 bolt) flange.
However, I have a 0.250″ disk caliper plate sandwiched in the assembly, which should give it some additional strength.