Long time, no write, because I’ve been BUSY. Work has not let up like it usually does towards the end of the year, but the lack of a commute due to the transition to work-at-home still leaves me time to wrench. And boy, have I been wrenching. And cutting. And welding.
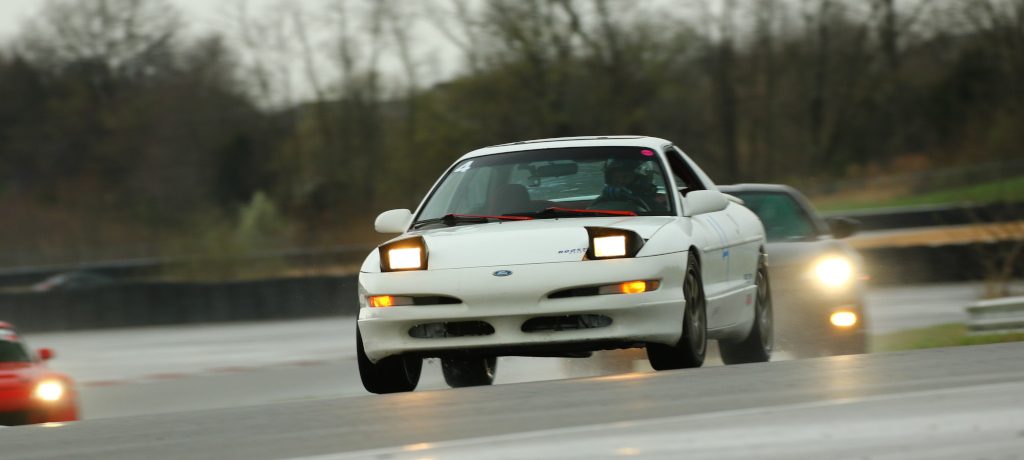
First, the reasons. The 2020 season saw my lowly $500 Probe do everything I wanted it to, and more. We won the DriveAutoX SCN National Championship, made it to KOTM 2.0 (which led us to be invited to KOTM 3.0!), and finally, qualified for the Optima Ultimate Street Car Invitational, which was held at Circuit of the Americas, which was awesome. These would all be accomplishments in a new car. Pulling it off in this heap was a lift.
But I’m not stopping there. Instead of selling it, I’m going to set a new goal: A podium finish in GTC at an Optima Search for the Ultimate Street Car event.
Am I crazy? A podium finish? Is it possible?
I think it is. You see, going through all the video of me driving this thing through the season, it’s apparent the vehicle’s problem was power. It just didn’t have enough of it. My best COTA lap, I was all up in Paul Bulski’s trunk through the esses. He couldn’t get away from me until the back straight. An extra hundred horsepower or so should really change the game.
As luck would have it, a company in California that occasionally sells turbo kits for Probe had a batch up, and I snagged one. Avid readers of this blog have likely already seen my goofy unboxing video, but if you haven’t, here it is:
The kit’s a basic T3/T4 hybrid Chinesium model. Emelia Hartford just made 295hp on her K-Swapped Prius with what appears to be the exact same turbo from the same outfit, so that should be plenty. Of course, the kit only came with the hot side piping, so there’s going to be a lot of fab on the cold side.
I also snagged an oil cooler setup, and a TrackSpec hood vent to increase flow through the heat exchangers and keep air from building up under the hood and stalling out the radiator.
But! The one place the car could stand to improve at Optima events the most isn’t the timed portions. No, it’s D&E. And with an old car, D&E can be a gold mine. The car nabbed better-than-stock D&E scores at all the qualifying events, but there’s a lot to be gained, and functional gains, too.
The seats had to go, but to get a lightweight fixed back seat into the car safely, it needed a roll bar. So, off to Summit Racing, who happily sold me a Rhodes Racing four point weld-in kit. It only took me a weekend to get it installed:
With the roll bar in, I pulled the carpets and found what I hope are the last two mouse houses. They had burrowed into the rockers in at the front of the footwells and their nasty mouse pee had rotted a lot of metal away. Repairs were in order.
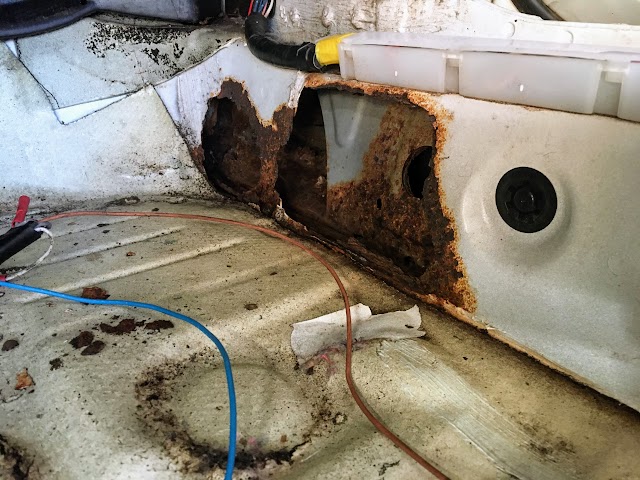
So, I cut the rust out and patched the rails and floor with fresh sheet metal. It’s not a pretty repair, but it’s going under the carpet and it’s solid. Moving on.
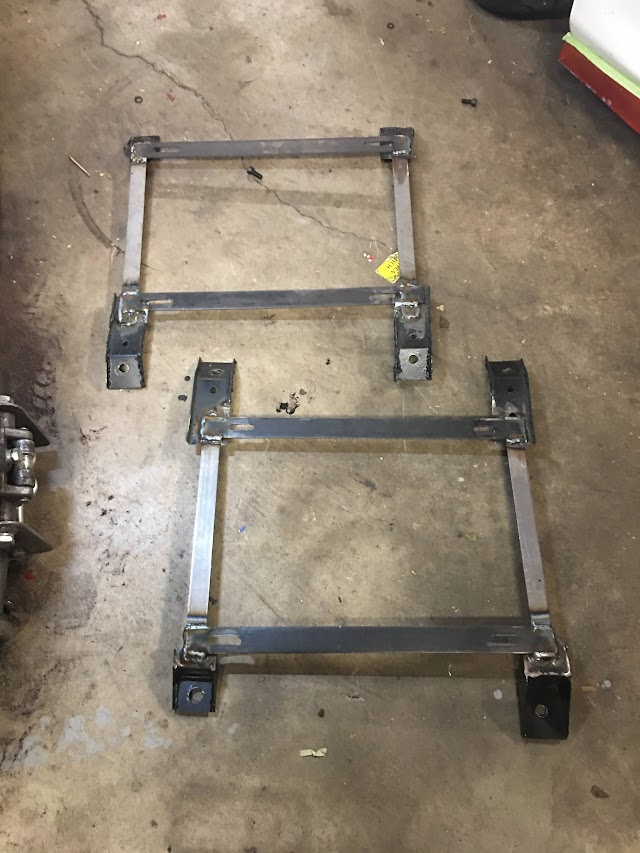
The seats I chose were Bride fixed back fiberglass seats, but adapting them to the car required adapter plates. Those plates sold for $140 each. But I have a welder and pile of scrap metal. I made my own:
When it came time to start putting interior parts back in the car, I found out the back seat had to go. The seat cushion would go in fine, but the flip-down seat backs hit the down bars on the cage. With the seats out of the picture, I’m going to have to come up with a package tray for the seat location. Maybe I’ll cram a small amp and subwoofer in for some shove? I’m still brainstorming on what to do there. But one thing I did do was a battery relocation. With the back seat out of the way, I can put my Optima Red Top in a sealed box in the passenger rear seat location. This moves 35 pounds hanging a foot and a half in front of the front axle to a spot inside the wheelbase, offset of the driver, and several inches lower. The battery was going to have to move regardless, since the turbocharger is going to end up in the stock battery location, but being able to get it inside the wheel base instead of hanging out back in the hatch area is a real bonus.

The tray is a custom bit. The floor pan beneath the seat area is backed up by the gas tank, so drilling through the floor to anchor the box wasn’t going to work, plus the location wasn’t even remotely flat. This tray gave me a level spot to mount the box and a safe way to anchor it. It’s bolted the factory rear seat belt anchor points, so it’s not going anywhere.
With the battery box installed, it was time to put the rear interior panels back in. A bit of trimming to clear the roll bar was necessary:

But it all fits quite nicely:

With that done, I turned to the steering wheel. The wheel has a nice suede cover, so naturally, I had to complement it by flocking the dash:
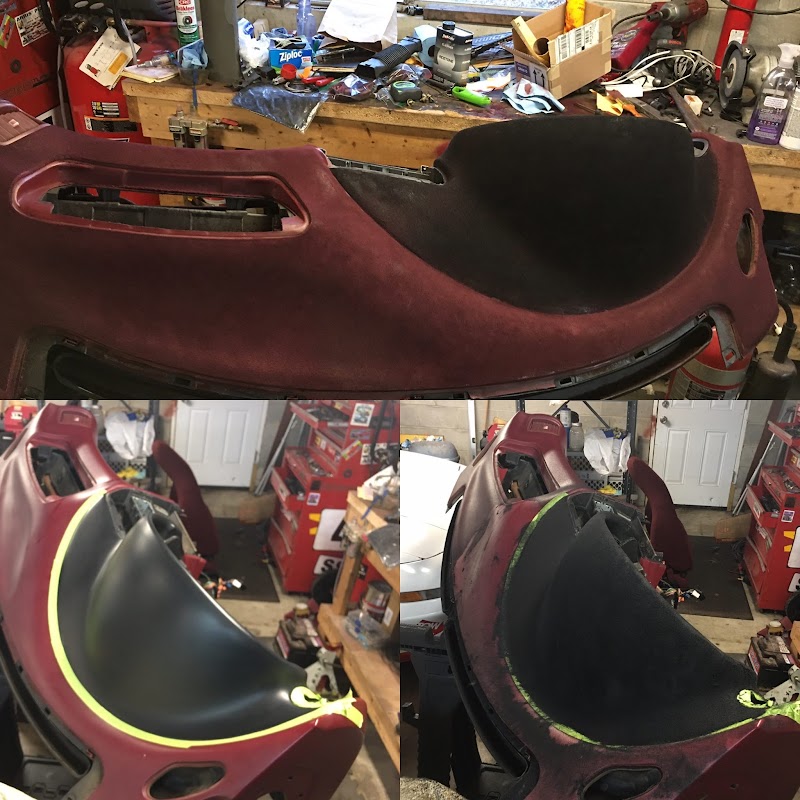
I totally stole the idea from the guys at Donut Media. They flocked the dash in their S14 in this video.
With the dash back in, I could finally mount the wheel:

Funny story, the horn button in this new steering wheel didn’t work. I pulled it apart and found the mechanism wasn’t touching the terminals inside the button. I cut a piece of aluminum out of a baking tray and solved the problem:

At this point, I’m waiting on some parts to show up. I needed terminal ends for the one gauge battery cables for the relocated battery, and they weren’t in stock anywhere in town, so I had to Amazon them. With the holiday, I don’t expect them to show up until Saturday. But once they do get here, I can finish the battery box install, verify the car will power on, finish wiring up the horn, and put the carpet and seats in. Then maybe even take it for one last naturally aspirated spin.
After that, the real fun begins: the turbocharger.
Stay tuned!
Huge gallery of pictures! Click here!