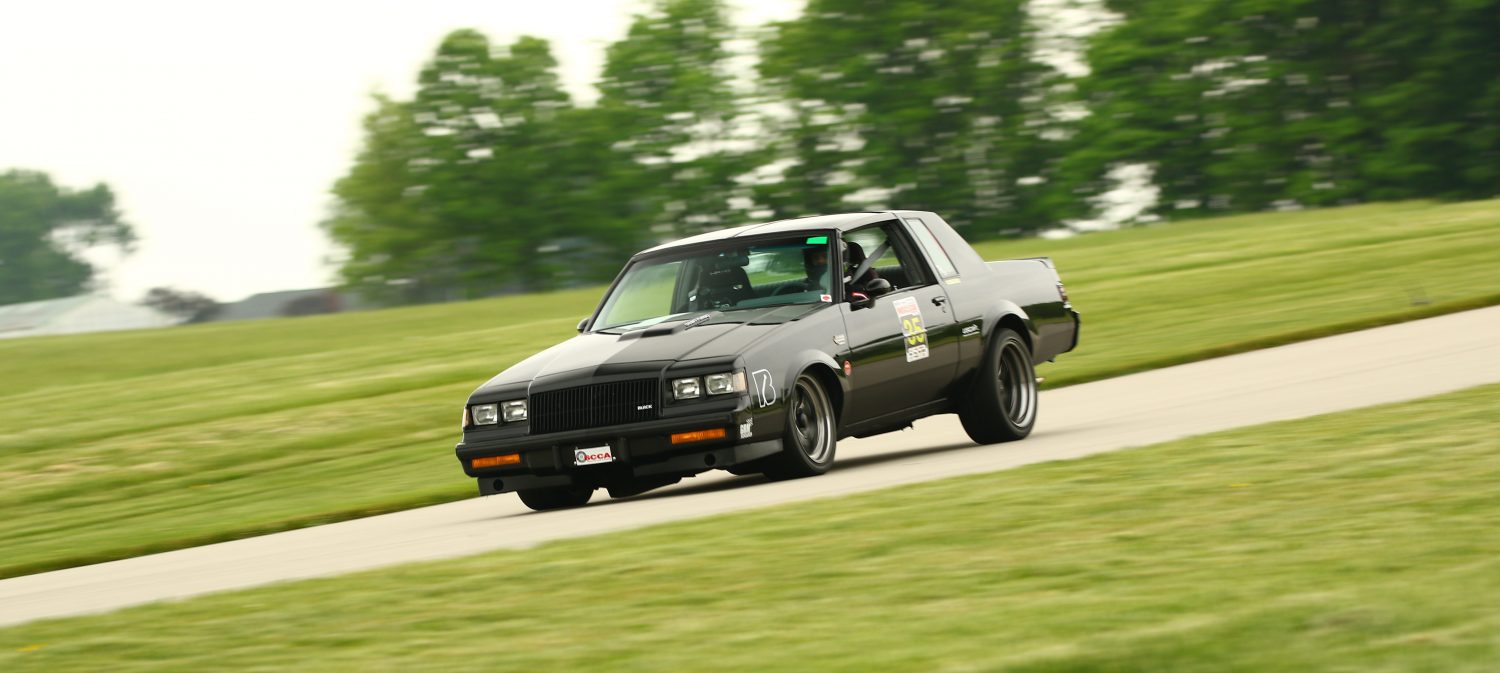
So, after my disappointing engine failure at the Optima NJMP event, I was left with the big question:
What happened?
Well, after pulling the engine and tearing it down and reviewing the data logs from the event, even having an oil sample analyzed, the answer is clear:
Several things.
Dealing with things like this requires patience. I want to understand what broke and why it broke. Without fully understanding those things, I’ll just break it again.

Step one is getting the engine out of the car. Not a big deal. This is my second time doing it. Had it out in just a few hours. Before I started pulling it, I drained the oil, taking a sample to have analyzed. No water came out, which was encouraging. But the oil did settle in the pan with a nice metallic sheen on the surface. That wasn’t encouraging.
After getting the engine on the stand, I got the intake manifold off and saw the first hard evidence of what I was dealing with. The passenger side head gasket had clearly failed at the top of number six.

It managed to push the gasket out far enough that it contacted the pushrod, likely contributing to the noise. Once I got the head off, the effects were more obvious.

You can see pretty clearly the damage to the gasket. On the bright side, the water that got into the cylinder steam cleaned the top of the piston for me. The gasket also mostly re-sealed, which is why I was able to drive the car off the track and onward to the paddock and eventually onto the trailer. Yay?
The driver side showed signs of damage, too. But not nearly fantastic enough for pictures.
At this point, I was feeling encouraged. Maybe I got away with just a head gasket? Time to flip it over and pull the oil pan!
Oh God.

That, my friends, is bearing material. Lots of it.
The number one cam bearing was damaged, as well.

I pulled the number three main, and it was trashed.

At this point, I just took it to the machine shop so they could clean it. They found the top shell of the number one rod bearing was missing. The rod journal had been ground down 0.018 inch from the original size, and the cap and journal were discolored from the heat. The crank was trash, and so was at least one rod. The wear on all of the bearings was offset, too. The crank bent. I bent the crank. The crankshaft bent. Holy crap.
So, that’s the physical damage. But what caused it?
Well, figuring out why the head gaskets failed was easy once I saw this chart:

The green line is the knock count. As boost climbed past 20psi up to 24psi, it starting pinging. A lot. I couldn’t hear it when it was happening. When it hit 24psi, the heads lifted off the block and the rest is history.
But the bearings?

Yeah, bearing wear. And checking out the slightly elevated number on the 8/5/2016 sample, it appears they’ve been wearing since I put the engine together. I think I screwed up something in the front cover and oiling system when I built the engine last time. They wore, and then the detonation event just finished them all off.
So, the total damage? Trashed crank. Trashed rod. Block is fine but will need some finish machining. I’m going to need a rotating assembly, new cam, and a properly constructed front timing cover and oil pump.
So what’s next? A lot. As is usually the case, it costs almost the same to put upgraded stuff into the thing as it would cost to just rebuild it as it was. I’m forging it all. All the things. Forged. FORGED!!!!!
And a few other plans. Stay tuned.